
How to Prepare for a Magazine-Worthy Interior Design Photoshoot (Without the Last-Minute Panic)
Ever turned up for a photoshoot of your beautifully completed project, only to discover your clients have “helpfully” filled every surface with personal bits and bobs? Or perhaps you’ve found yourself mid-shoot, realising that half your essential styling props are still sitting at home?
You’re not the only one.
The truth is, fabulous interior photography doesn’t just happen. Behind every effortlessly beautiful image is a well-planned process, a combination of gently guiding your clients and arming yourself with a kit that’ll save your skin when the unexpected strikes.
Let’s walk through the two key ingredients for shoot-day success: client preparation and your own well-stocked styling kit. Because trust me, being prepared is what separates a good photoshoot from one that feels like a game of damage control.
Why Preparation is Everything
Photoshoot disasters aren’t usually down to poor photography… they’re down to poor planning.
It’s so easy to think of shoot day as simply snapping a few shots of a finished room. But in reality, you’re creating images that represent your brand, your visual CV, if you like. These photos live on your website, in your portfolio, and across social media. They need to sing.
So, let’s start with how to get your clients on board, because even the most stunning design work can be overshadowed by a rogue TV remote and a pile of receipts on the dining table.
Part One: Preparing Your Clients, Kindly, Clearly, and Early
The key to client prep is communication, ideally long before the shoot. From the earliest project conversations, let them know you’ll be photographing their space professionally once it’s complete.
Frame it as a celebration. You might say:
“These photos will really showcase your beautiful new space at its absolute best, and help inspire others dreaming of their own transformation.”
Now, clients often have no idea what’s involved in a photoshoot, and that’s totally understandable. So you’ll need to explain what you need from them, and crucially, why. When clients understand that clutter-free photos make their home look more elegant, more luxurious, and yes, more expensive, they’re far more receptive to your requests.
Try phrases like:
“We’ll temporarily remove personal items so the design work really shines. Think of it like a magazine shoot, we’re aiming for an aspirational look that really does your space justice.”
Then, about a week before the shoot, provide a detailed checklist. (No vague “please tidy up” messages!) Include practical instructions like:
- Clear all surfaces of personal items
- Hide daily-use objects like phone chargers and remotes
- Ensure styled elements are in their intended places
- Remove family photos or children’s artwork (lovely, but not always shoot-friendly)
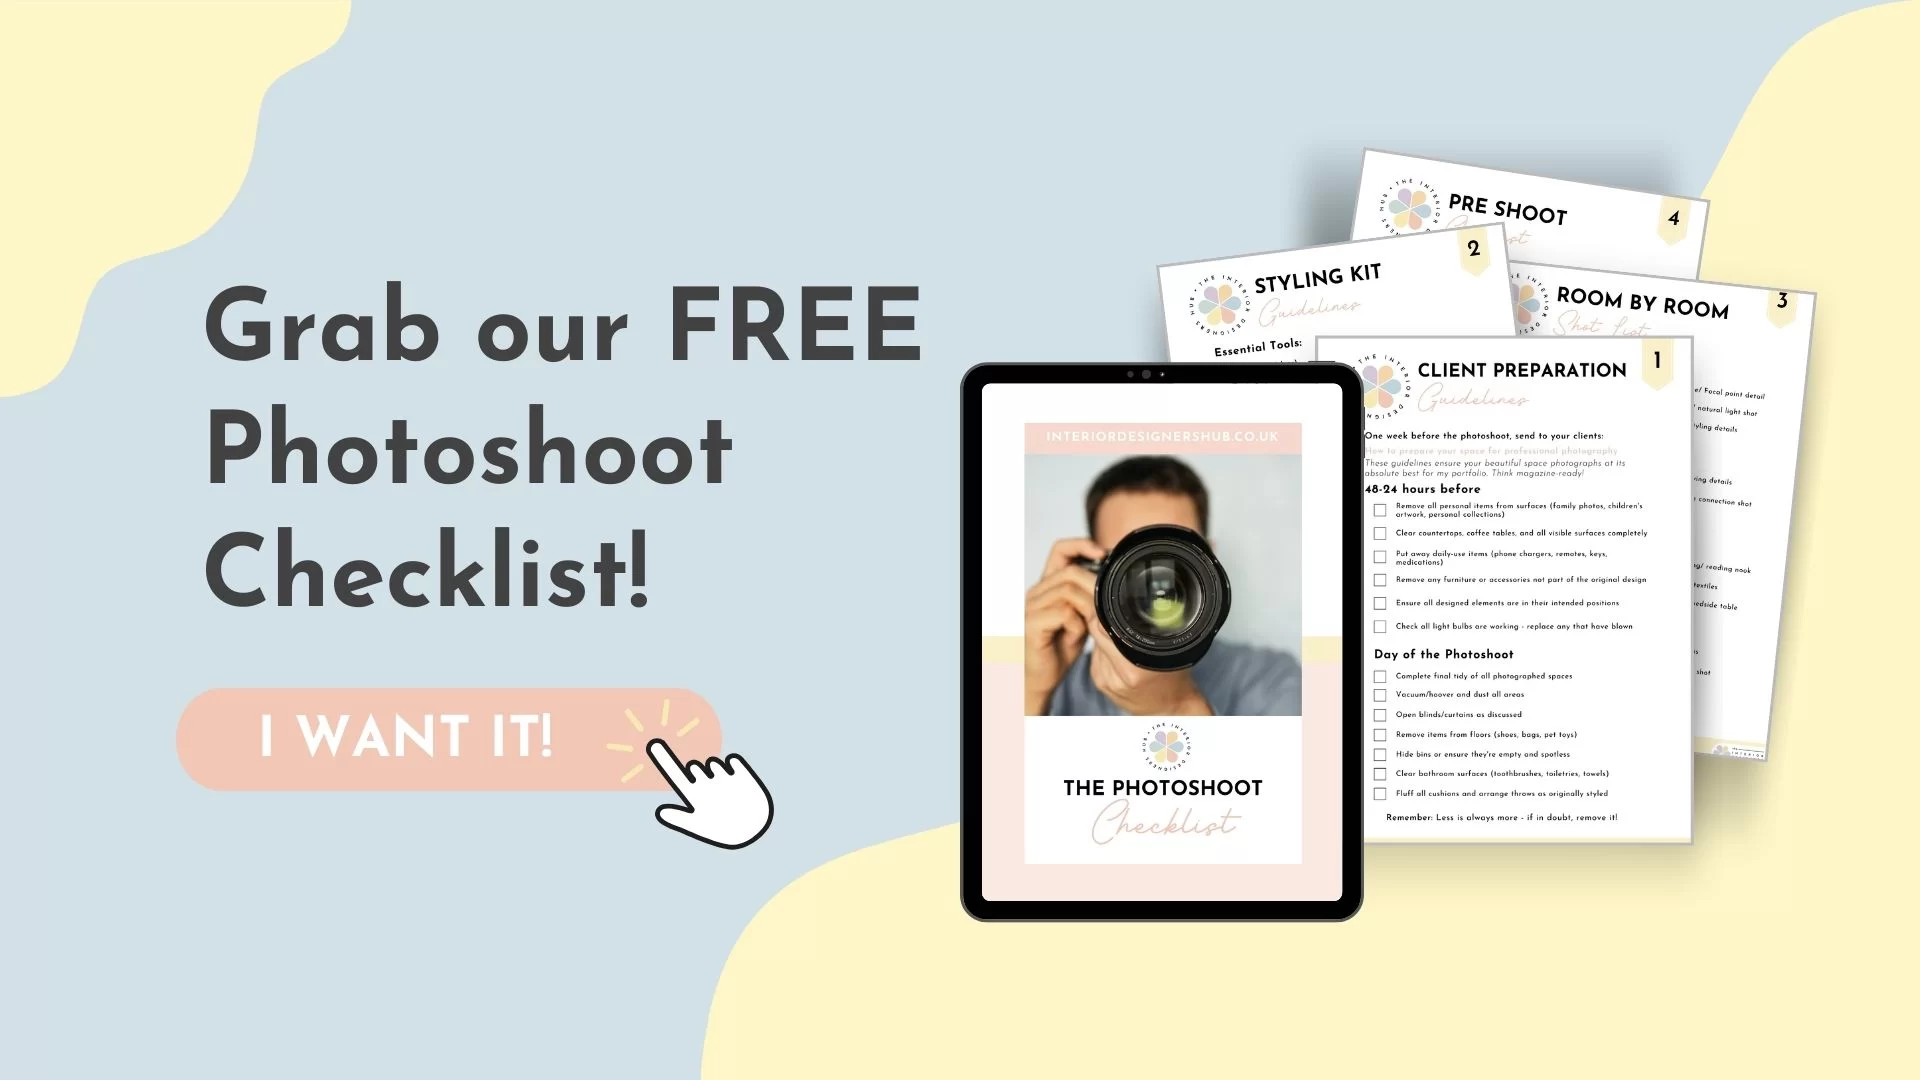
I’ve even put together a free checklist you can use for this, more on that at the end of the post.
Part Two: The Photographer’s Styling Kit, Your Secret Weapon
Even with a perfectly prepped client, you’ll still need your own tools to make the space camera-ready. This is where your styling kit comes in, your creative toolbox that helps you tweak, polish and elevate every shot.
Here’s what I always recommend packing:
✨ Styling Essentials:
- Fresh flowers in various sizes, nothing lifts a room like a bit of greenery
- Coffee table books with beautiful covers
- Neutral candles in different heights
- Decorative bowls and baskets for elegant storage styling
- A couple of stylish throws in muted colours
- Neutral cushions that suit most schemes
- Small plants or succulents for a natural touch
🧰 Practical Tools:
- Blu Tack and Sellotape, for positioning lightweight décor
- Command strips, great for hanging things in a pinch
- Mini steam iron, to smooth out creases in throws or cushions
- Cleaning wipes and cloths, for a last-minute surface refresh
- Spare lightbulbs, in case one gives up on you mid-shoot
- Step ladder, for overhead or high-angle shots
And here’s my biggest tip: create your own checklist for shoot day. Before each shot, take a moment to ask yourself:
- Are surfaces clear and clutter-free?
- Do cushions look plump and inviting?
- Are cables or unsightly objects out of sight?
- Does this vignette tell a story?
Taking a few extra minutes here makes a world of difference when you’re reviewing your photos later.
On the Day: Your Game Plan
So Arrive early. Give yourself time to walk through the space, make adjustments, and style each shot as you go. Don’t leave everything to the end.
If you’re working with a photographer, make sure you’ve shared a pre-planned shot list in advance.
Capture:
- Wide shots to showcase full rooms
- Close-ups to highlight detail
- Overhead shots or different angles to create visual interest
And if you’re photographing the space yourself? Remember not to shoot everything at eye level. Mix up your perspectives, it makes your portfolio far more engaging.
The Result? Polished, Professional Images That Sell Your Design Work
When you combine clear client communication with your trusty styling kit, you’ll avoid awkward conversations, wasted time, and rushed fixes. Instead, you’ll walk away with images you’re proud to share, ones that truly represent the standard of your work.
And to make this all as easy as possible for you, I’ve created a Complete Photoshoot Checklist. It includes:
- A printable client preparation guide
- A styling kit shopping list
- Room-by-room walkthrough tips
- And even some gentle but diplomatic phrases to use when asking clients to adjust or remove something for the sake of the shot
Until next time, happy styling, and here’s to creating images as beautiful as your designs.
Kate x
About The Author
Kate Hatherell is the founder of The Interior Designers Hub and a qualified interior design professional with extensive experience in the industry. She has helped hundreds of students transition into successful interior design careers through The Interior Designers Hub’s UK government accredited Level 3 Diploma in Professional Interior Design and the Hub Insiders business membership programme. Kate is also a consultant and professional advisor to AIM Qualifications & Assessment Group, providing industry insights to the development of new interior design qualifications in the UK. Kate also runs SketchUp training courses, which are used by students across the world. She is committed to providing practical, industry-relevant education that prepares students for real-world interior design careers.